

TABLE OF CONTENTS
- Coal Mines monster spawns
- From Coal Mine interior to 1st Boss
- How to catch Croco fast
- Boss Fight Croco (Moleville Mines)
- Frog Coin area
- Boss Room
- Mine cart mini-game 1st section
- Outside the house

You should save your game at the inn as soon as you enter Moleville. It’s the house with the star sign on the house entrance on the left side of the map. You won’t be able to access most of the secret shops here on your first visit, they only become available once you clear the Mines and get the 3rd star piece located in this map area.

After saving your game, You should go to the item shop. The mobs inside the coal mines have strong physical defense and your current defense equipment is not as strong as what the shops have to offer.
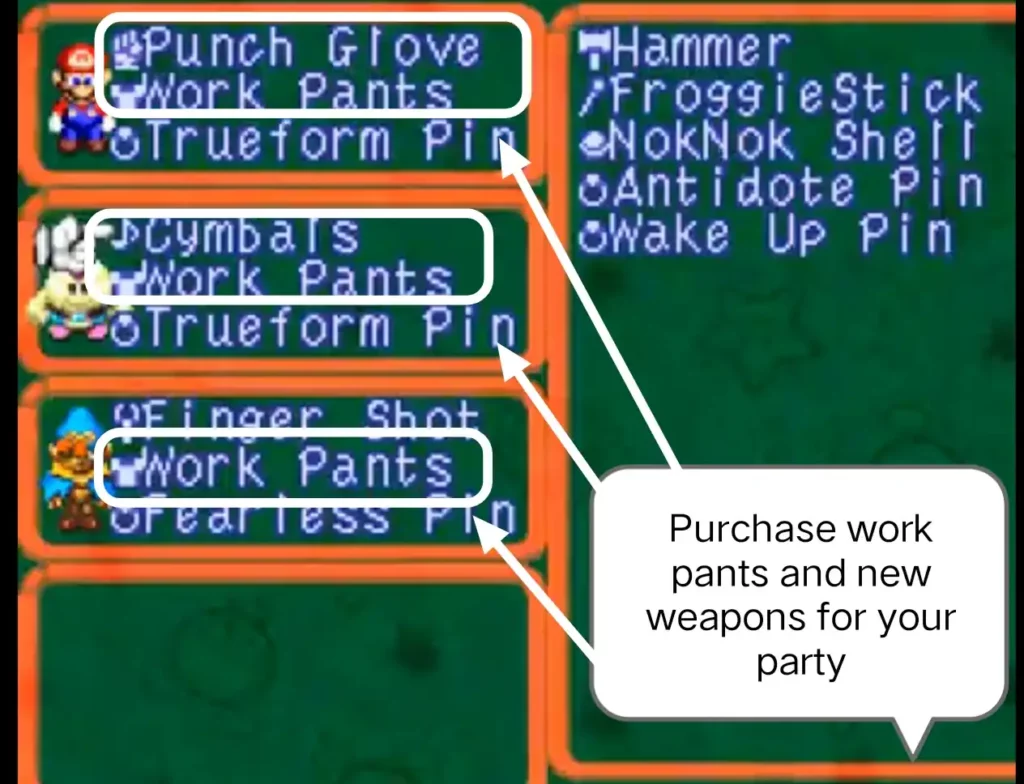
You should also sell your low-level Hp and Fp items and stock up on mid-mushrooms for Hitpoints and maple syrup for Fp. At level 7 your hitpoints and flower points have increased significantly and normal mushrooms or honey syrup won’t replenish enough points, especially when facing mobs and the Boss at the Coal mines. Once you are done buying, Head towards the entrance to the mines.
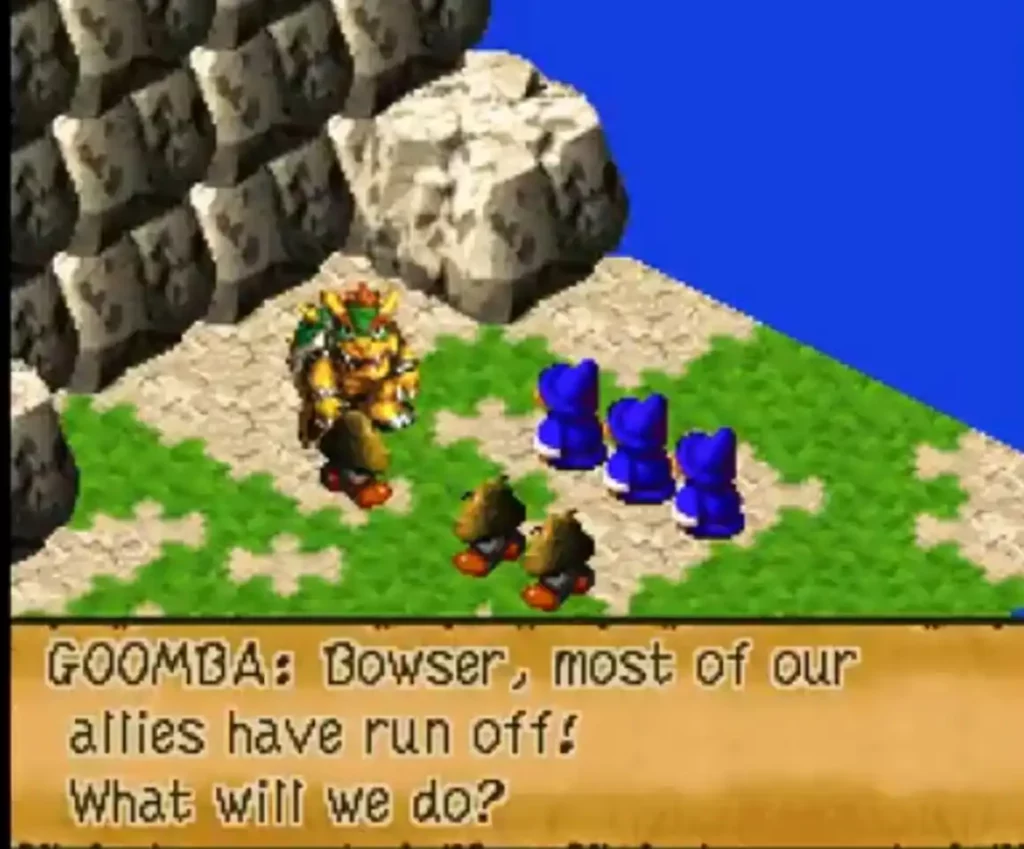
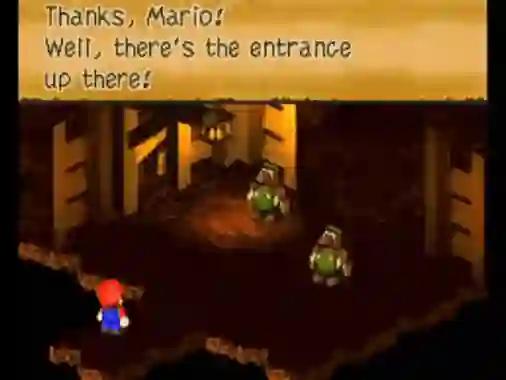
Before you reach the entrance to the mines, The scene shifts to Koopa on the right side of the map area while he talks to his army of monsters. His assault to reclaim Bowsers Keep failed and his forces scattered all over the world. He gathers the remaining troops and marches out of Moleville as you continue onward to the entrance of the mine.
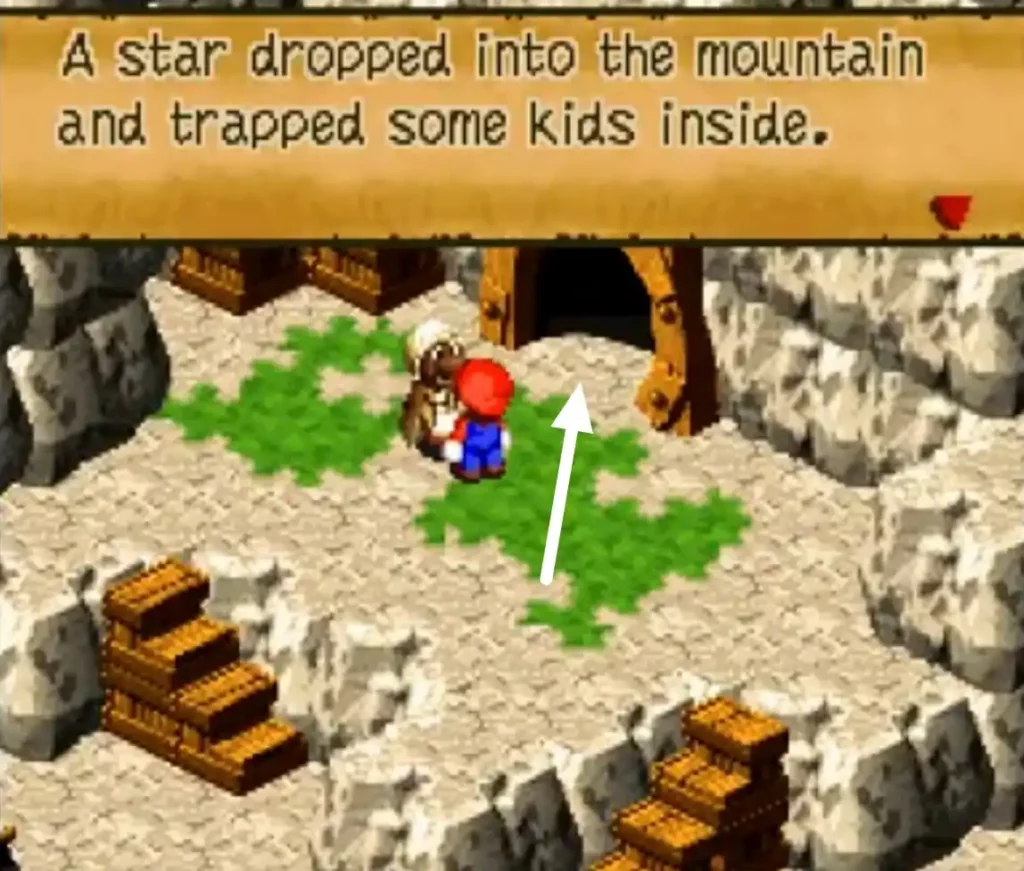
A Mole miner stands by the entrance and tells you that a star fell on the mountain and trapped some kids when it crashed. You agree to help rescue the kids and go inside the mines.
Coal Mines monster spawns
| Name | Hitpoints | Attack damage | Experience points | Gold coins | Item drop |
| Cluster | 60 | 50 | 8 | 8 | Pick me up |
| Enigma | 150 | 55 | 10 | 5 | Maple Syrup |
| Magmite | 26 | 45 | 5 | 1 | None |
| Bob-Omb | 90 | 50 | 4 | 0 | Pick me up |
| Sparky | 120 | 40 | 4 | 1 | None |
| Crook | 38 | 10 | 10 | Honey syrup |
For the Crook spawn stats and strategies, You can read them at the Rose Way Walkthrough.
Cluster mob
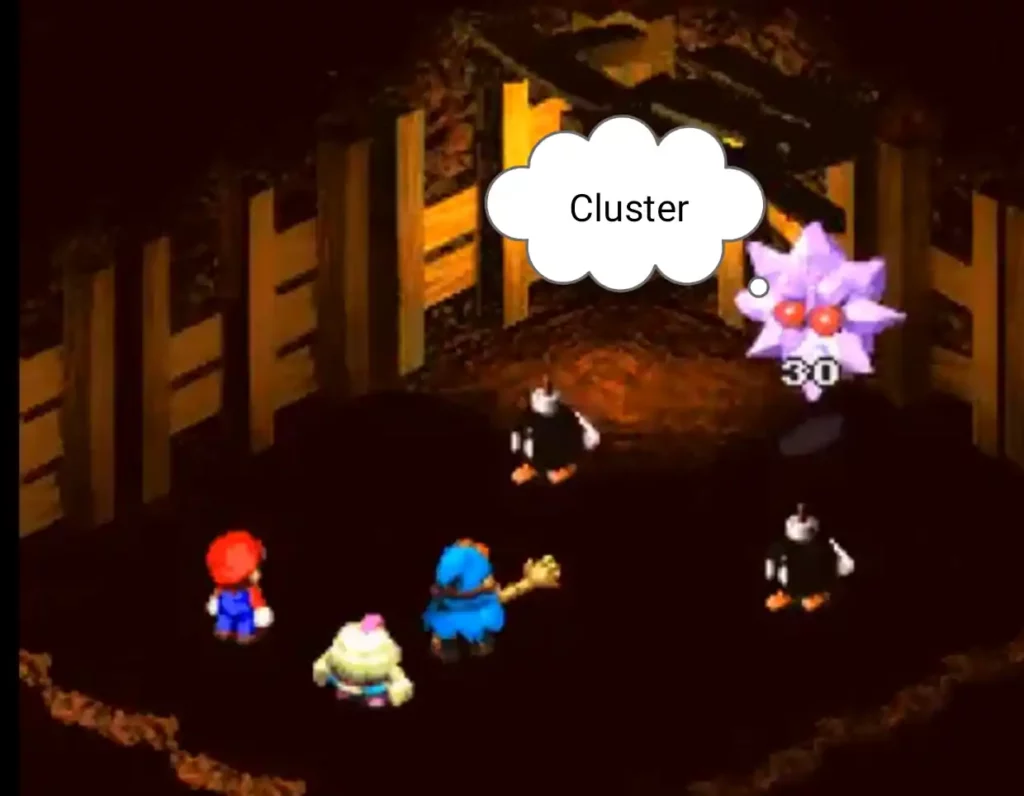
You deal higher damage when delivering magic attacks on Cluster. But since you will be needing those Fp items for tougher battles, It is best you use basic attacks to clear them. It usually takes 2 timed hits to take them out so focus your attacks on it before moving on to the next enemy. The same strategy can also be applied to Enigma monsters in a party.
Magmite mob
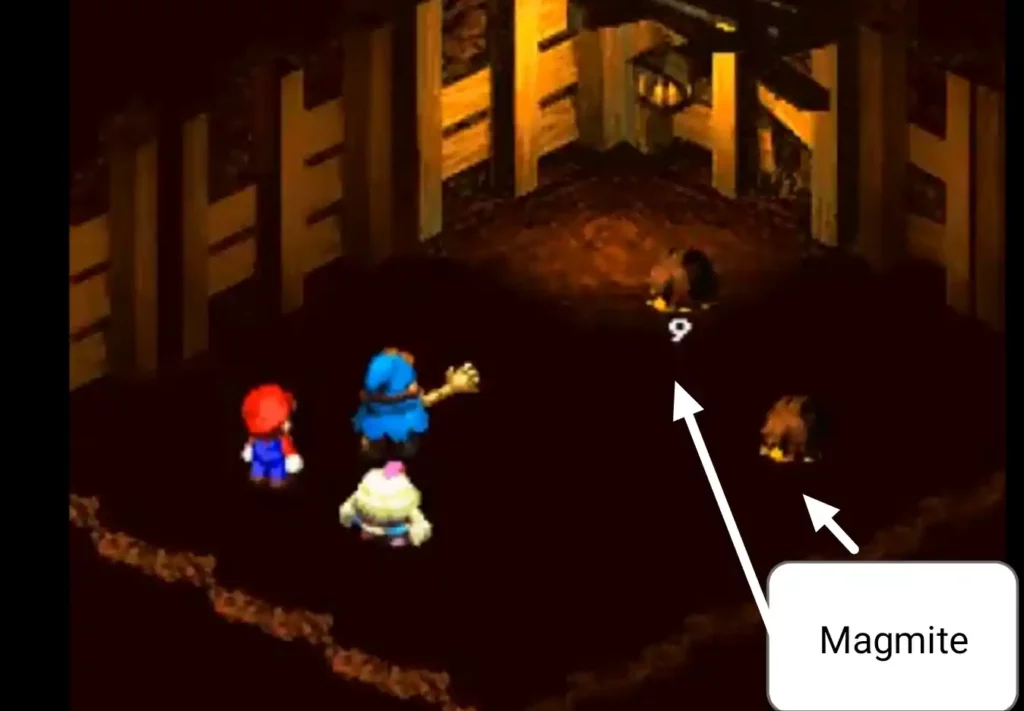
Despite having a mere 26-hitpoint count, Magmites are incredibly tanky against physical attacks. You could still beat them easily with basic attacks when faced with a party of 2 magmites but facing 4 or 5 of them in a group, It’s best to use Mallow’s Thunderbolt skill on them since it costs 3 fp and it usually takes just 1 skill to wipe them out.
Sparky mob
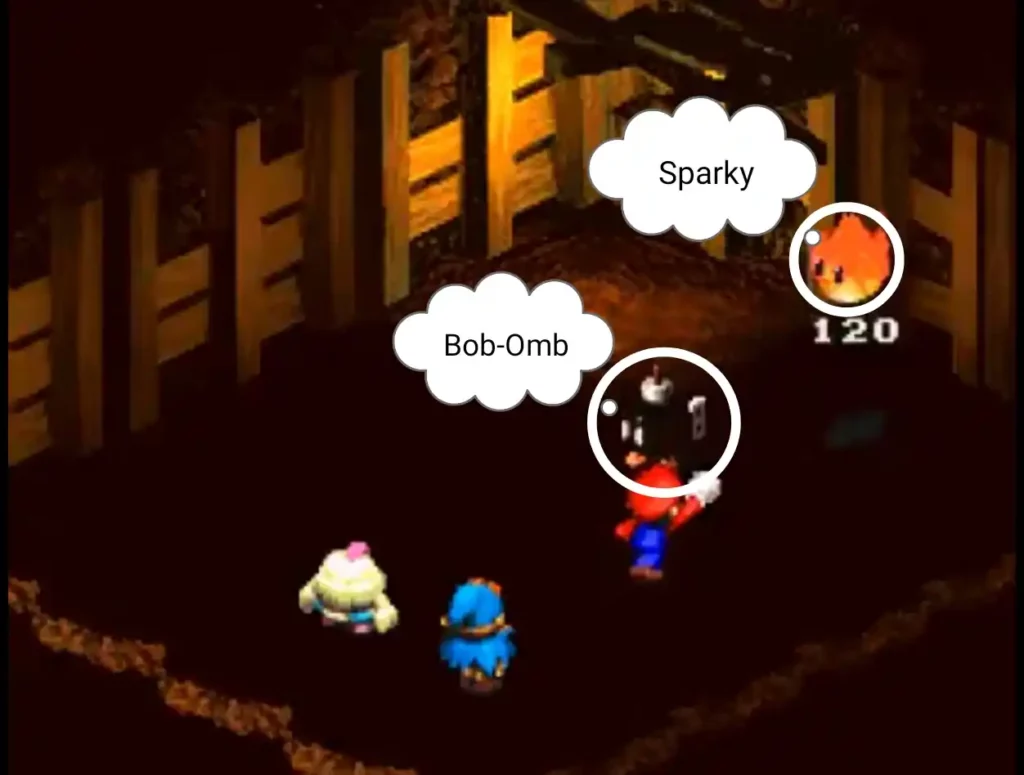
Sparky is weak to physical attacks. Use timed hits to take him out in a group. As for Bob-Ombs, do not hit them unless you can defeat them in a single turn. They usually self-destruct which deals moderate damage but sometimes they score critical hits that can kill you if you are not careful. Don’t use AoE skills when facing more than 2 Bob-Ombs in a fight and focus on 1 enemy at a time while dealing single-hit attacks or skills.
From Coal Mine interior to 1st Boss
The coal miners inside tell you that the entrance can be accessed if you can jump and reach the platform above. After promising to help rescue the trapped kids, they tell you to stand on their shoulders to be able to jump high enough to reach the entrance on top of the platform. Hop on their shoulders and jump again to reach the platform and exit.
Area 1
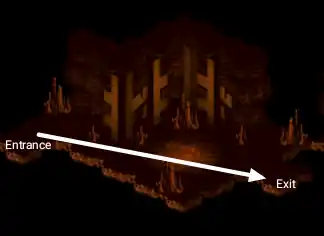
Clear the Magmite groups patrolling the area and make your way to the exit at the bottom right of the screen.
Area 2
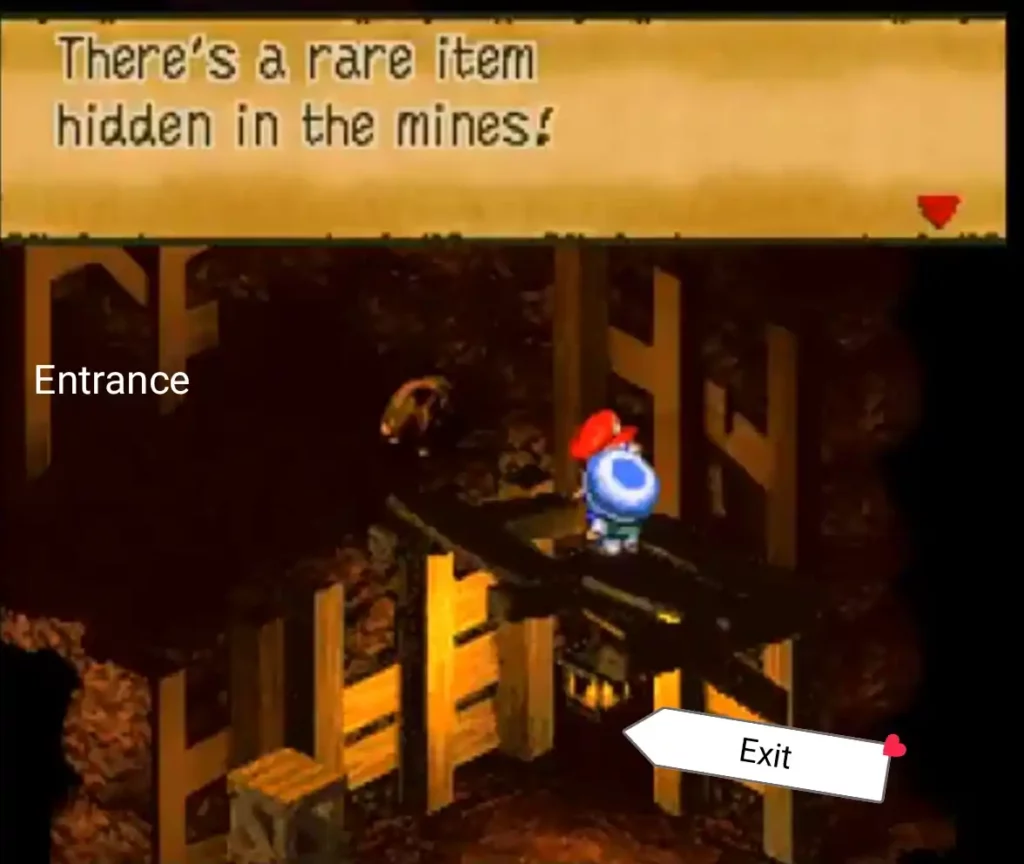
Speak with the Treasure Hunting Toad who tells you about a hidden treasure in the mines. Afterward, make your way to the exit located below the platform the mushroom guy is standing on.
Area 3 (trampoline location)
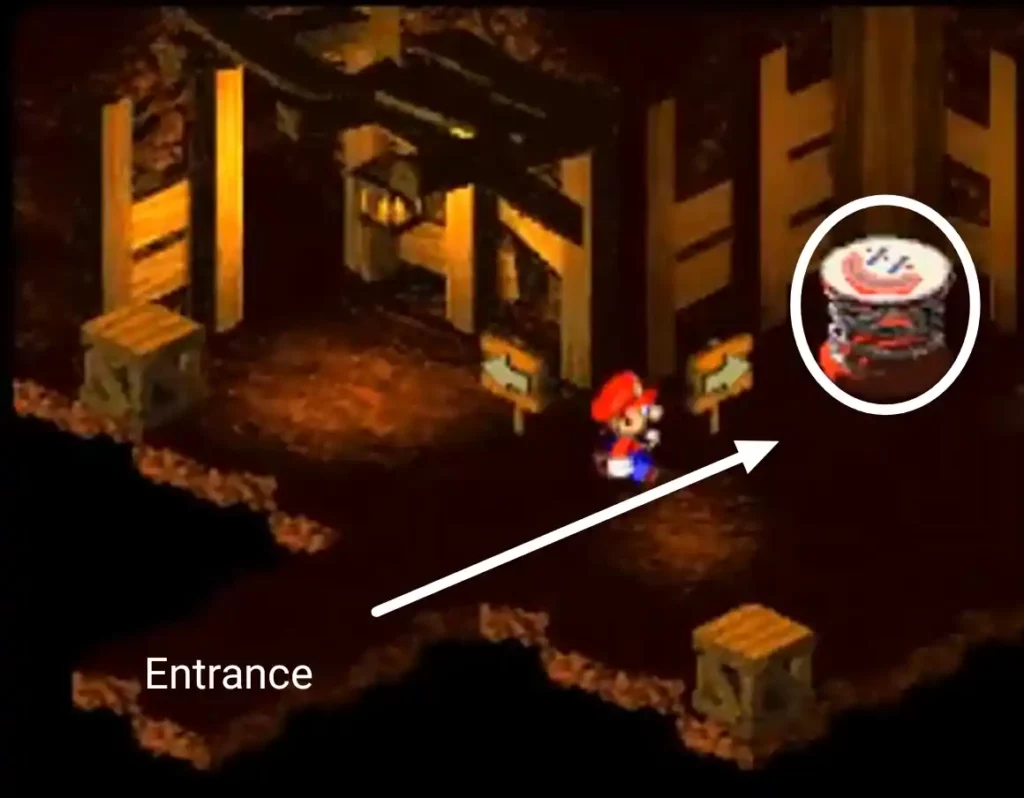
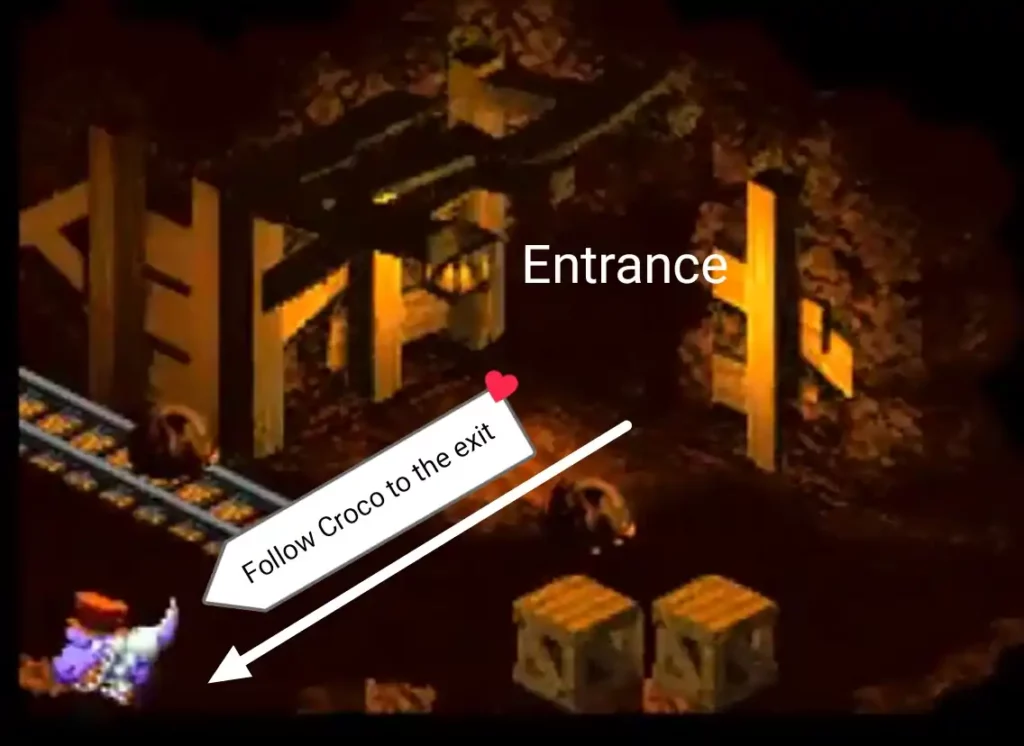
The next area splits into two paths with arrow signs pointing to the top left and top right exits. Ignore these for now and jump on the trampoline beside the top right arrow sign.
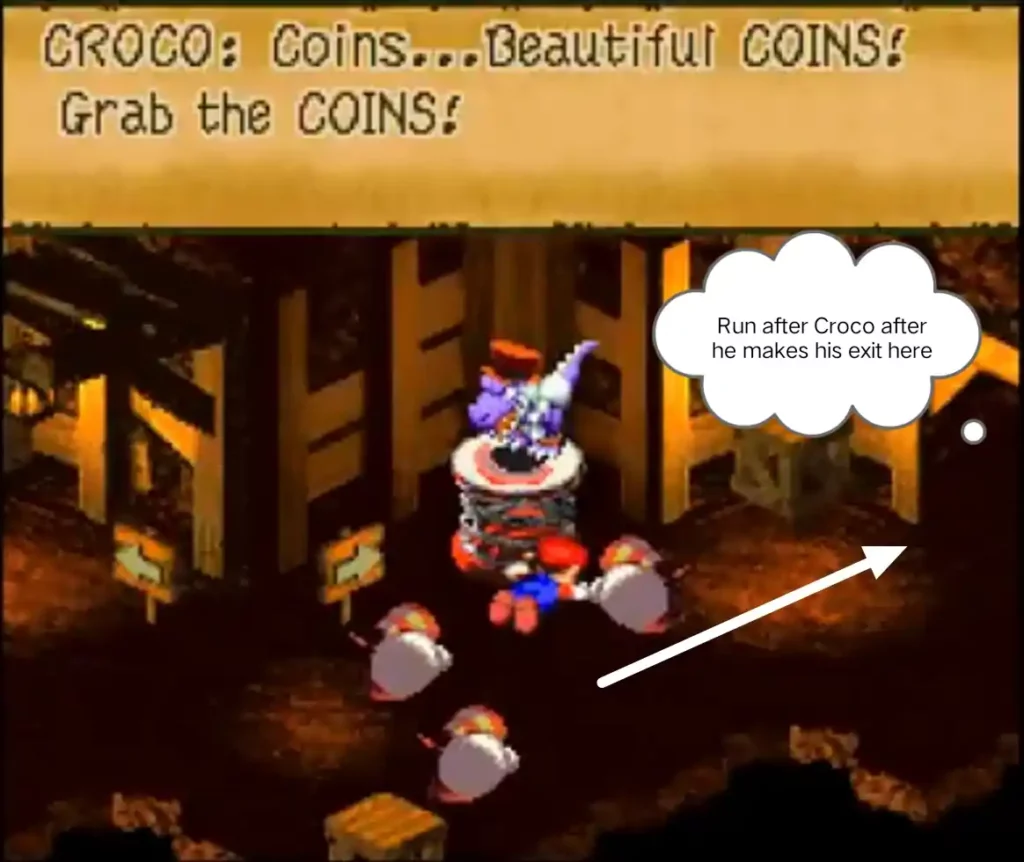
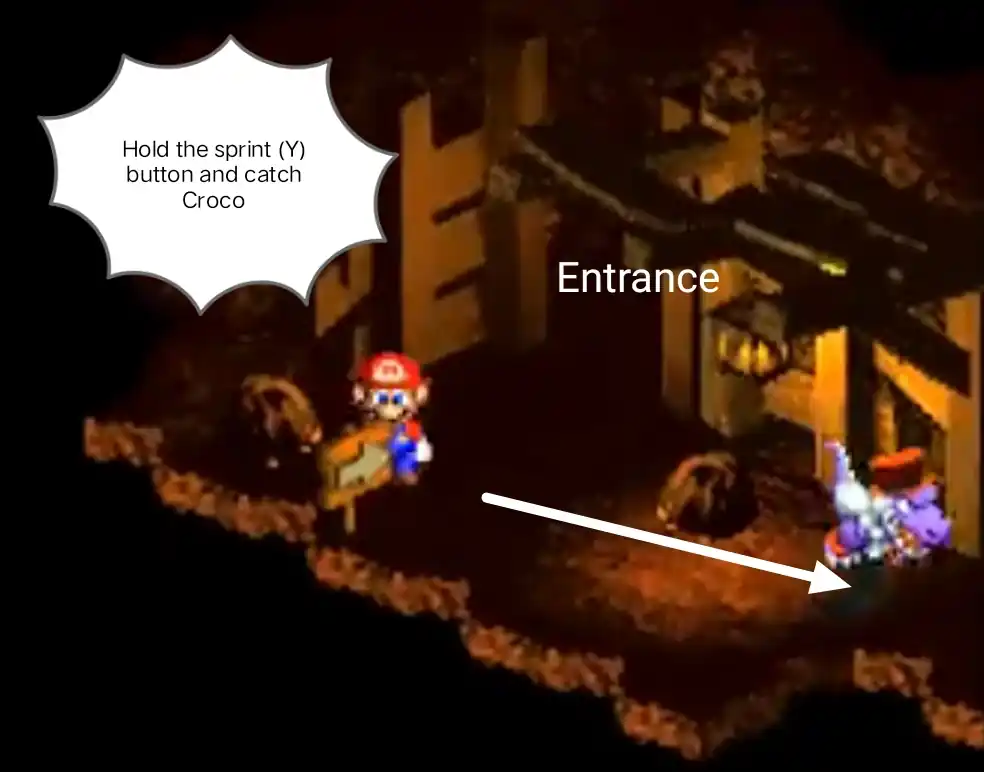
The Trampoline turned out to be a trap where you bump your head on the ceiling and knock yourself out. Before you come to, Croco and a party of Crooks loot your gold coins and run towards the top right exit. Quickly follow him by holding the sprint (Y) button to catch up to them.
Area 4 (dead end)
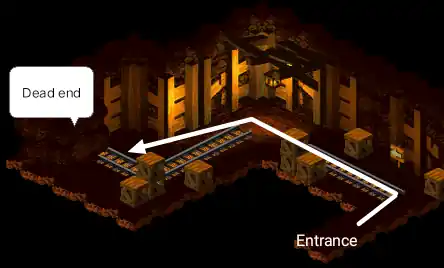
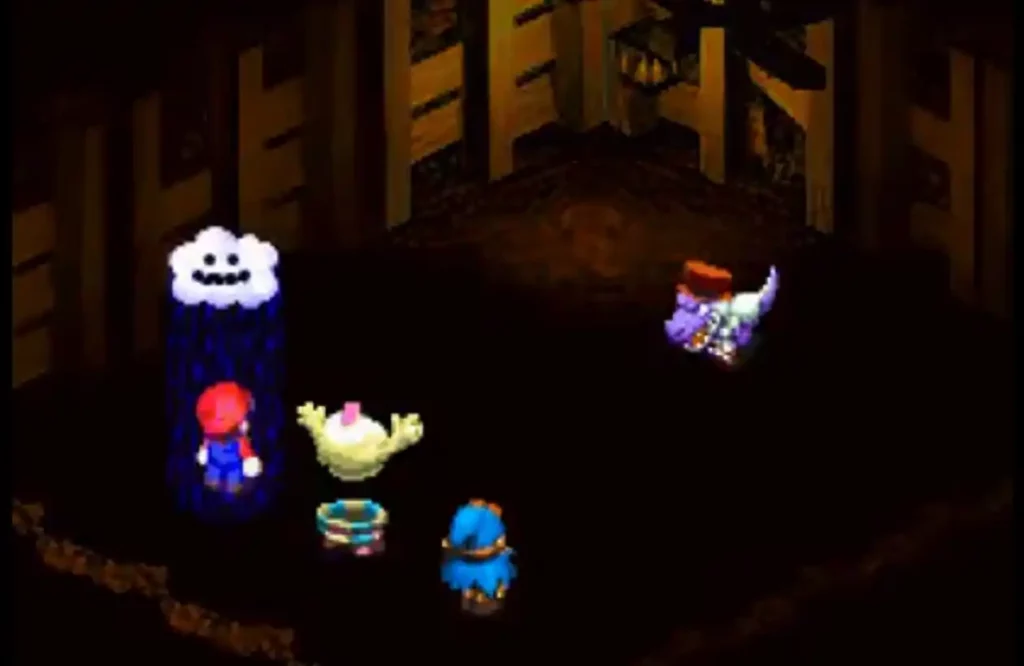
Navigate your way and avoid the enemies patrolling the area until you corner Croco and his group of Crooks.
Croco then pulls out a bomb and blows open a path and escapes. Follow him through the newly opened path and hold down the sprint button to catch up to him.
Opened path area 1
Avoid the two groups of enemies patrolling the area and take the exit to your left.
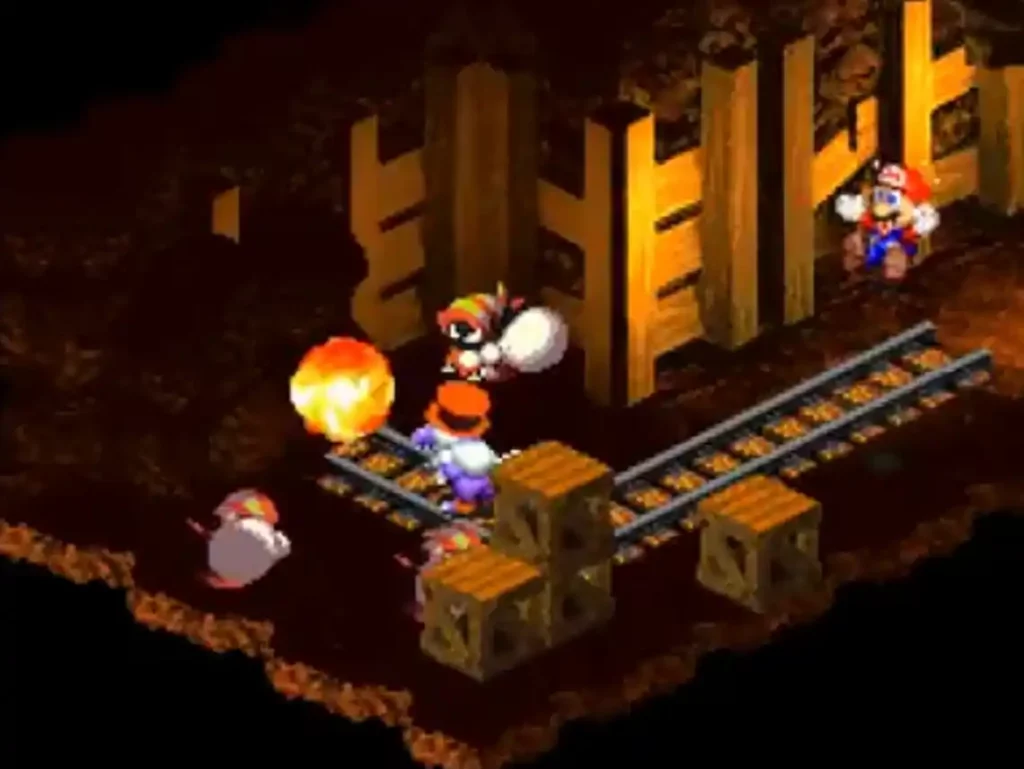
Opened path area 2
A cutscene plays where the wall blows open and Croco and his buddies rush out of the entrance. Follow Croco as he takes the exit straight ahead.
Opened path area 3
Run after him and try to catch him when he slows down to enter an area or navigate a turn. Avoid the enemy spawns in the areas because it slows you down when you fight as Croco makes his escape. If you can’t catch him, He eventually stops beside the trampoline after going around the course two times. However, there is a faster way to catch him.
How to catch Croco fast
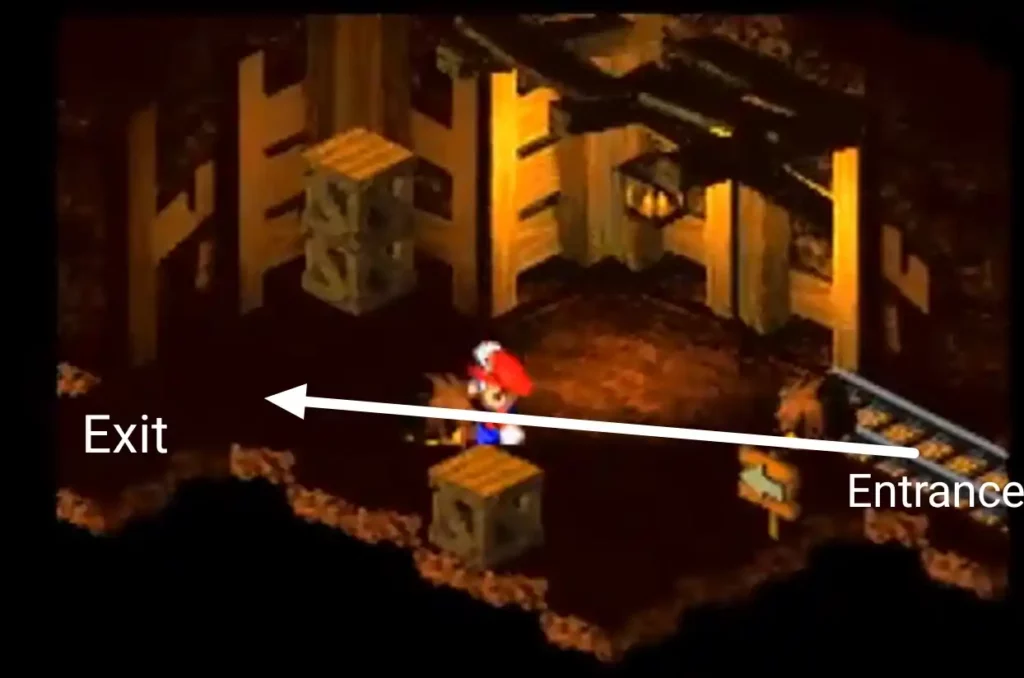
You start at the opened path area 2. After the cut scene, hold the Y button and navigate towards the exit straight ahead while avoiding the enemy spawns in the area.
If you do this right, you can get a glimpse of him as he runs down to the next area and takes the exit at the bottom right side of the map.
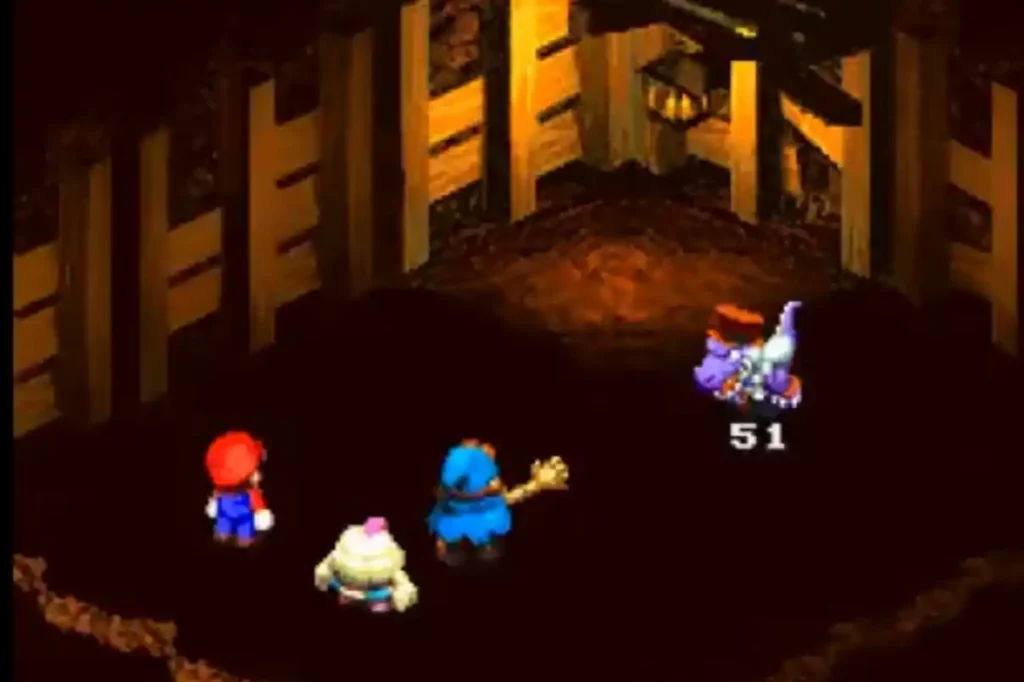
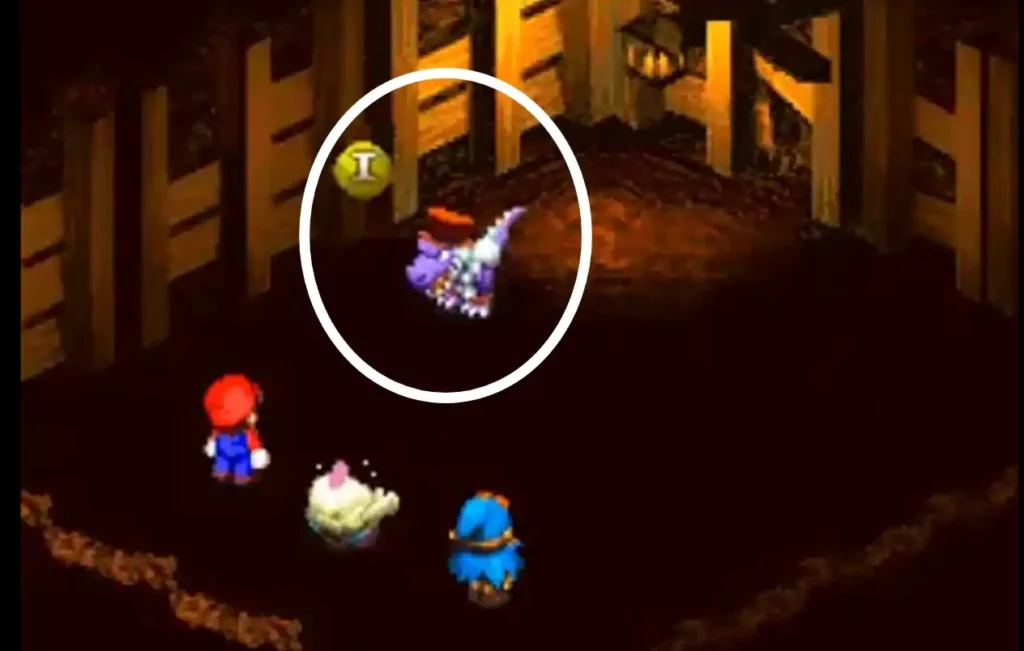
On the 4th area, Sprint in a straight line and you should be able to get him as he slows down and jumps off the platform to the area below.
Boss Fight Croco (Moleville Mines)
| Croco (Moleville Mines) | ||||
| Hitpoints | 750 | Magic Defense | 50 | Experience points 30 |
| Attack | 52 | Defense | 50 | Gold coins 50 |
| Magic attack | 27 | Weakness | Jump/ physical attacks | Item drop Flower Box |
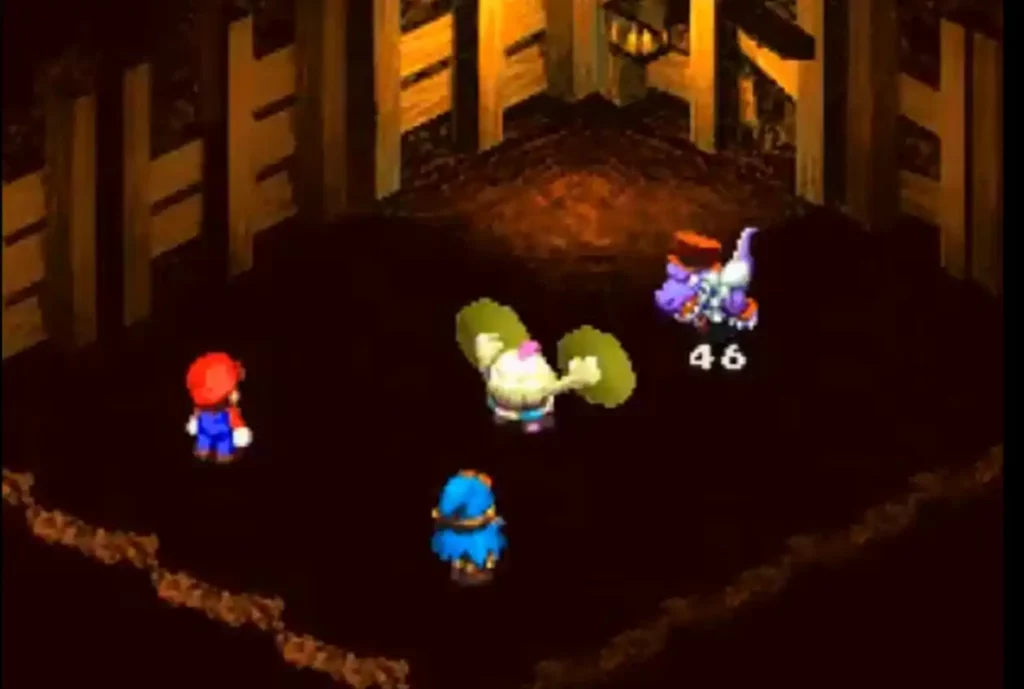
Croco is much harder to defeat this time. His hitpoints and attacks are doubled now and you cannot stun him with Mario’s fireball skill like your first encounter.

Start the fight by having Mario open up with Super jumps and chain them as long as you can. You can also use timed jumps if you can’t chain your super jumps at least 20 times. Do this until you run out of Fp then switch to basic attacks.
To learn how to chain super jumps effectively, please read the Boss section of the Forest Maze Walkthrough.
Geno’s skills do not do a lot of damage to Croco. Use basic attacks as well as timed attacks to lower Croco’s hit points. Since the Boss doesn’t do any AoE attacks, Have Mario and Geno focus on damage and let Mallow handle support throughout the fight.
Have Mallow support the party with healing spells and items. Do occasional basic attacks when he is free from healing as the party focuses on dealing damage.
When Croco has about half of his hitpoints left, He steals all your items from your inventory. Don’t worry though, you get all your items back when you defeat him in the end.
Have Mallow switch to offense and start using basic attacks on his turn. Use healing spells on the party when you need to and focus on dealing as much damage each turn.
Opened path area 4
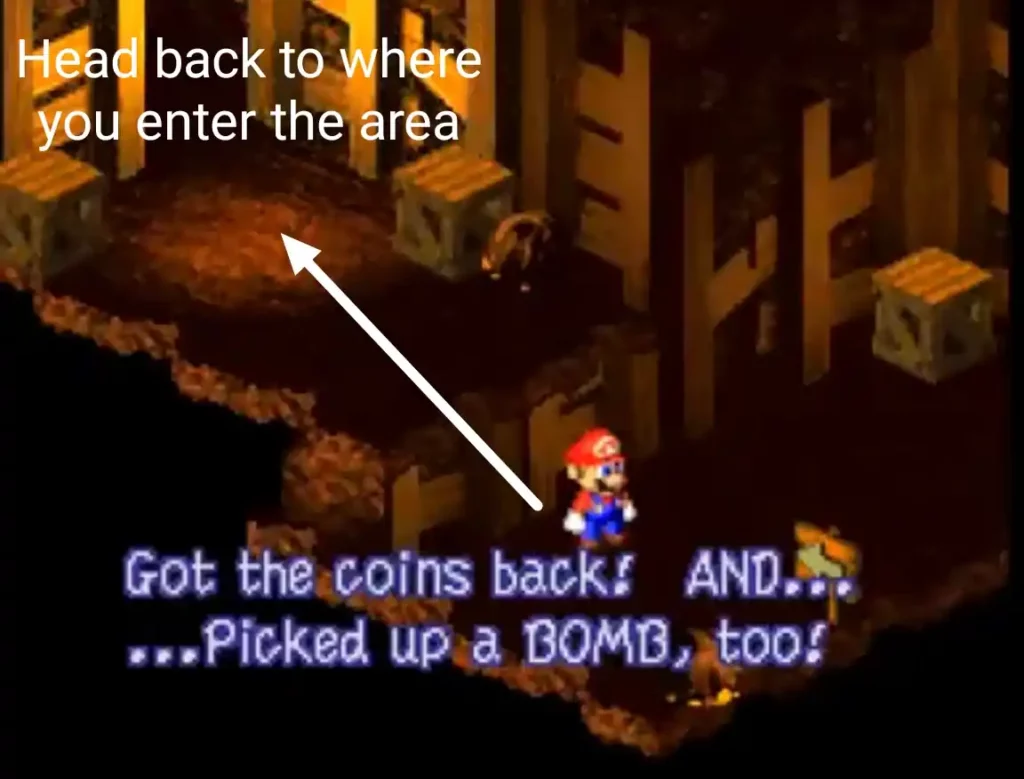
He eventually returns the items and gold coins before running away again. This time he drops a bomb that you will need to use to open up a path later on.
To get to the area where the kids are trapped, go back to where you first entered the area.
Opened path area 3
Make your way to the upper right entrance. Don’t forget to defeat the mobs you encounter as you enter each room. The recommended level for the second boss fight here is at level 8 so be sure to earn as much experience as you can to make the fight easier later on.
Opened path area 2
The next area is where Croco opened up the second path with his bomb earlier. Take the exit at the upper left corner of the map.
Side path area 1
Follow the arrow signs to reach the exit located at the top right corner of the map to take you deeper into the mines.
Side path area 2
You find Pa’Mole standing by the wall in the far right corner of the room. He tells you that his kids are trapped behind the wall which was sealed off when the Star fell on the mountain. You use Croco’s bomb to open up an entrance to take you inside.
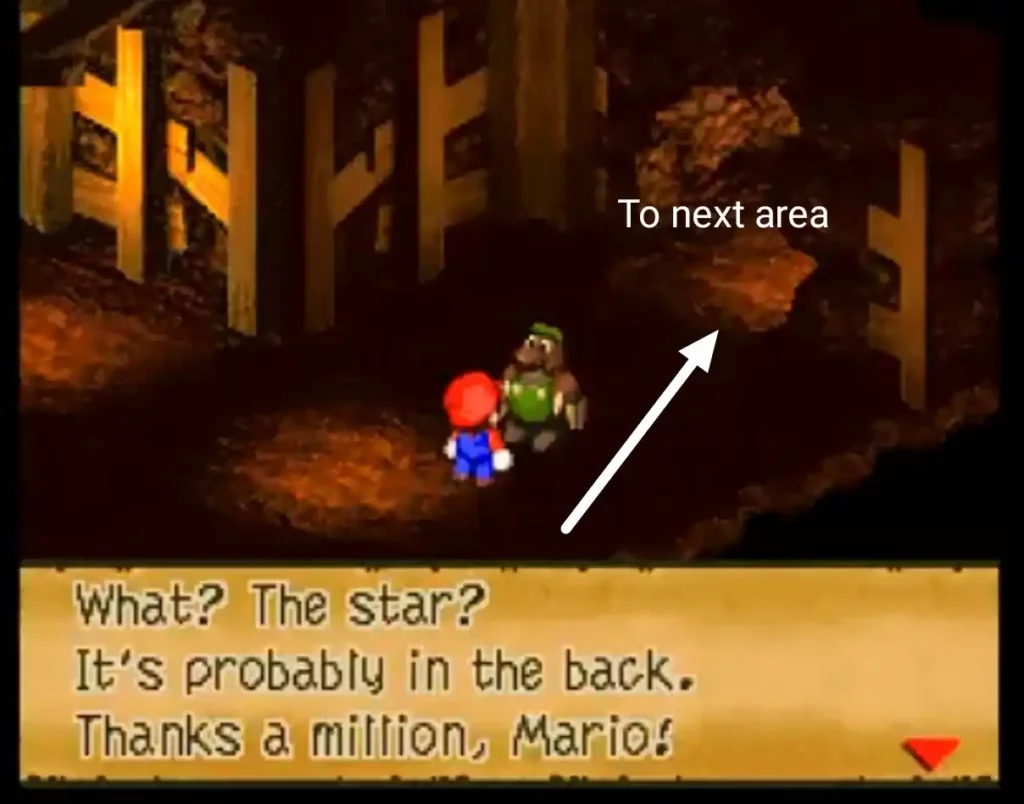
You ask about the star and he tells you that it might be further in. He goes back home to tell his wife that you would save the kids. Check your health points before heading inside.
Area 1
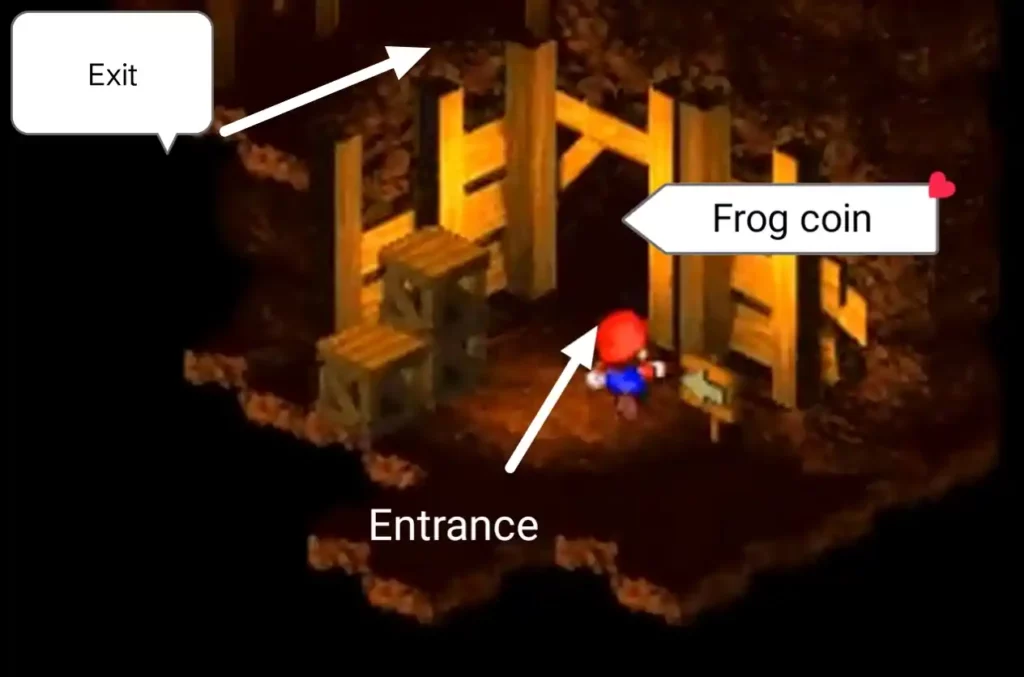
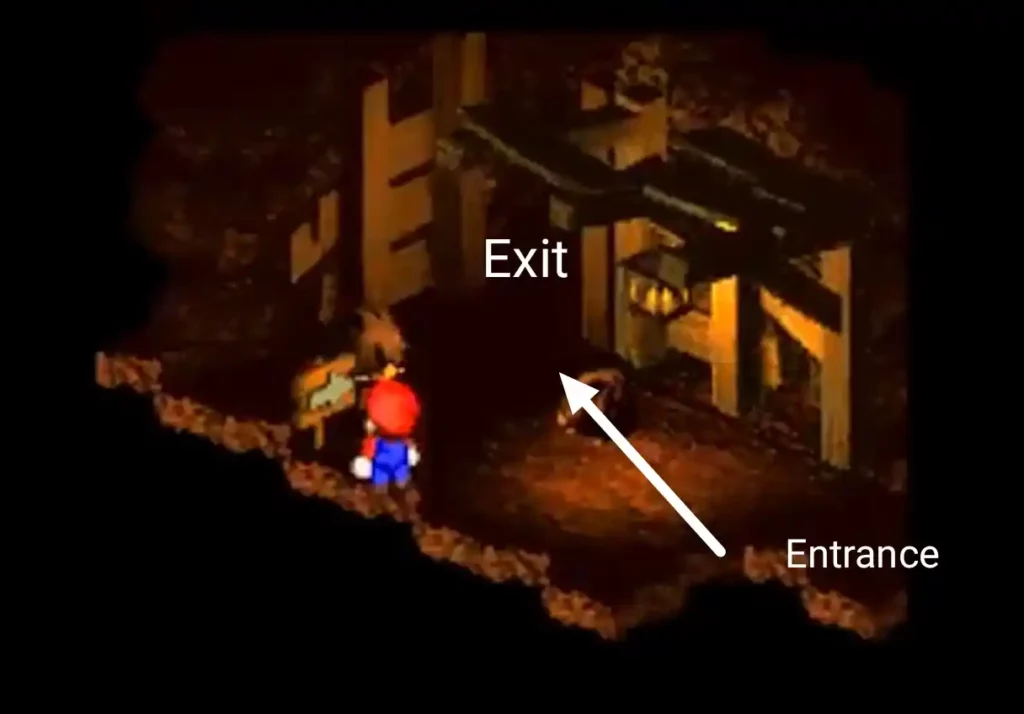
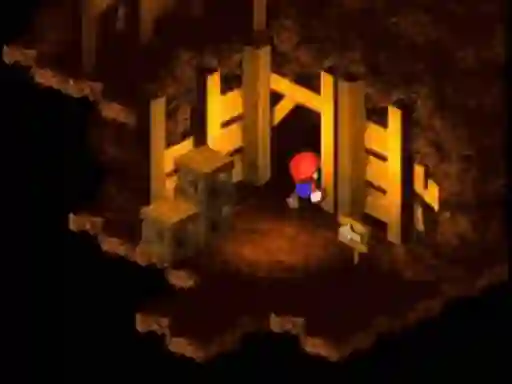
The exit to the next area is on the platform above you. Before you go there, enter the doorway in front of you to get a frog coin. Grab it and make your way to the exit.
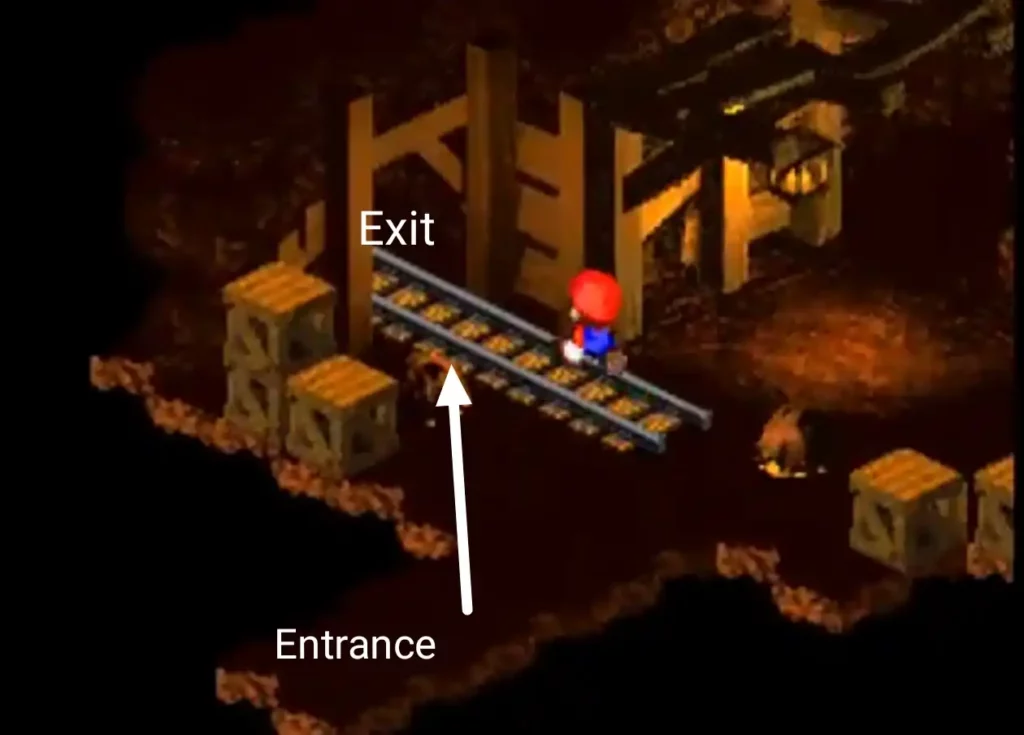
Frog Coin area
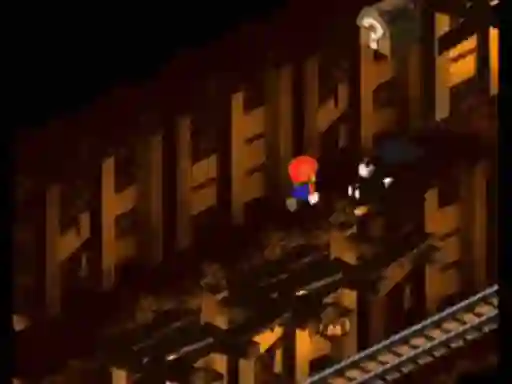
Follow the rails until you get near the end. A shy guy riding a minecart will bowl you over and take you back to the entrance. He crashes the mine cart in the process and drops a frog coin before running away.
Area 2
Ignore the enemies patrolling this area and look for the treasure chest further in. Jump and grab the Star Power from it and knock out enemies as you make your way to the exit at the top right corner of the map. Using star powerups are a good way to farm Experience points and we have made a separate article for the Star Power-Up exploit on How to EXP Farm.
Area 3

Hold the Y button to dash as you clear the enemies from Area 2 to Area 5 while the stat Powerup effect is still active. The exit for area 3 is on the top right side of the room.
Area 4
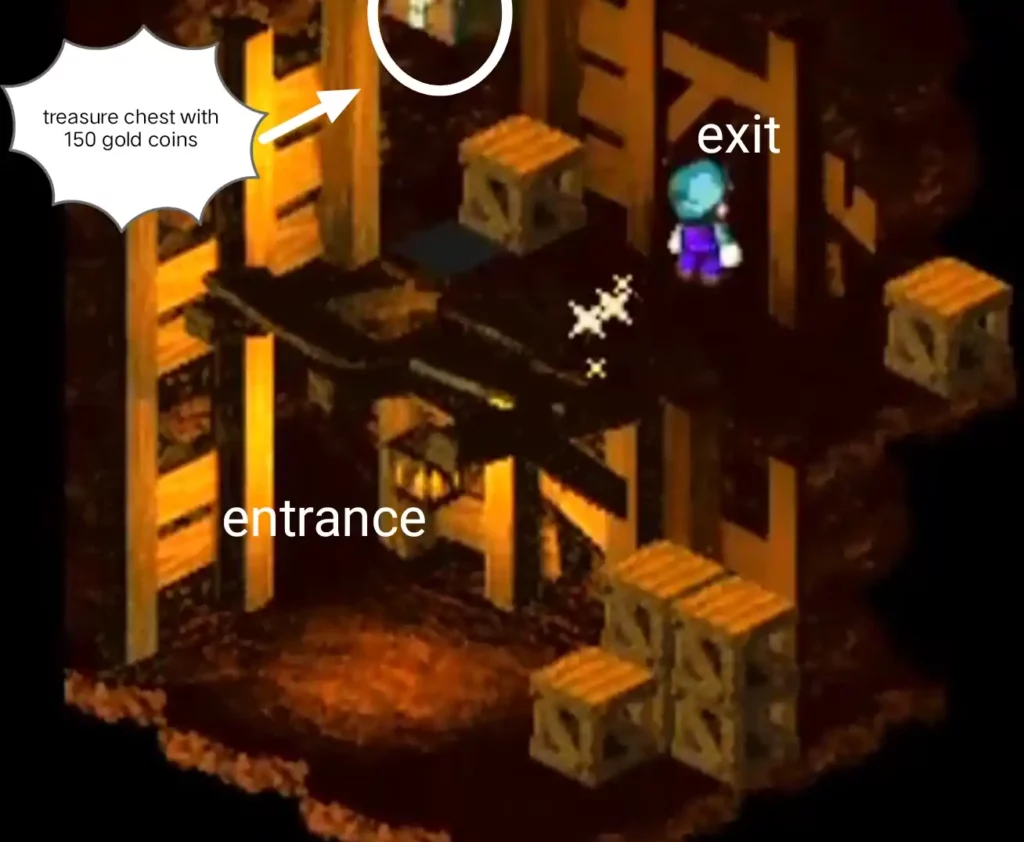
The Area 4 exit is at the top left side of the room on the second platform. While your star powerup is still active, ignore the treasure chest by the exit and move on to area 5. Don’t forget to go back here when the power-up expires and grab the 150 gold coins from the chest before heading to the boss room.
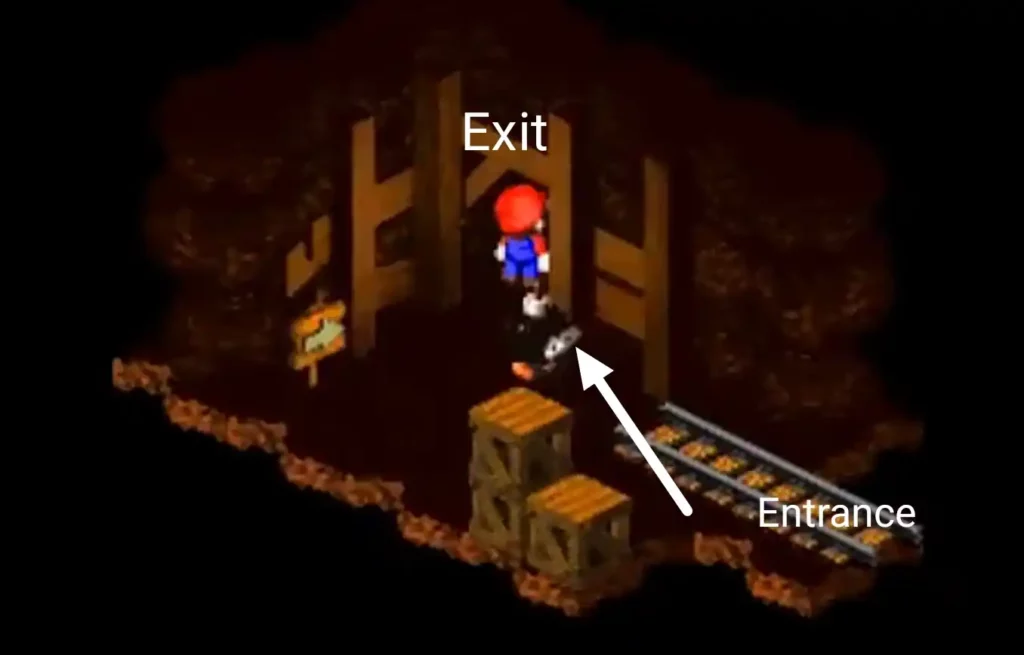
Area 5 (save point)
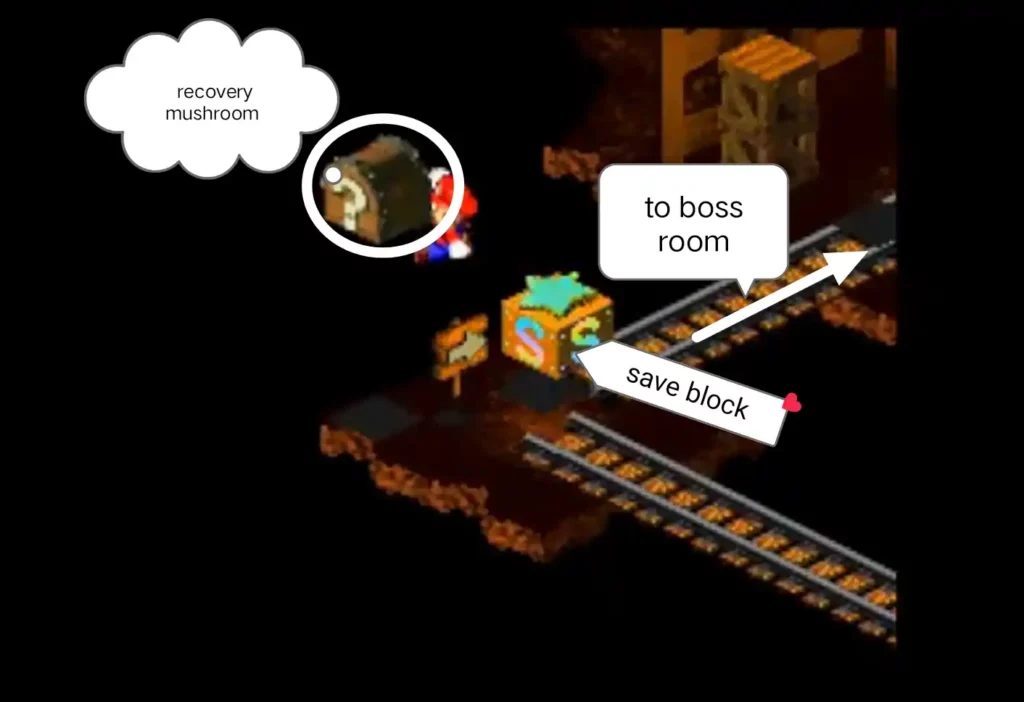
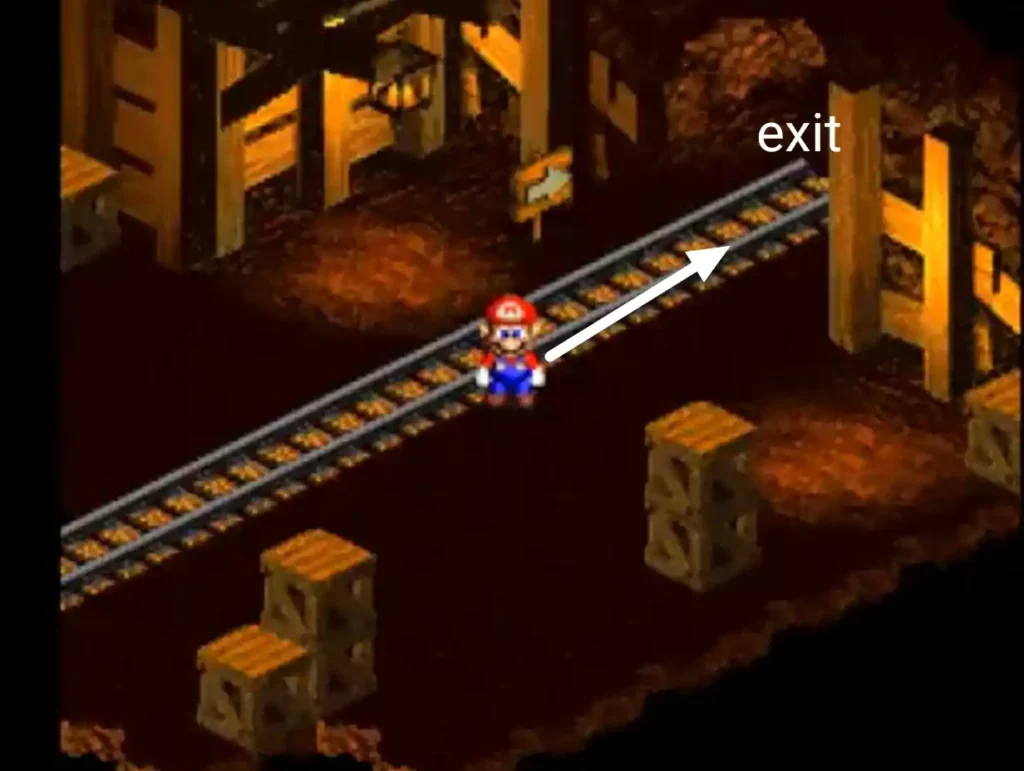
After clearing the monsters in this area, get the recovery mushroom from the treasure chest near the save block. Save your game and cross the rails that lead to the boss room further in.
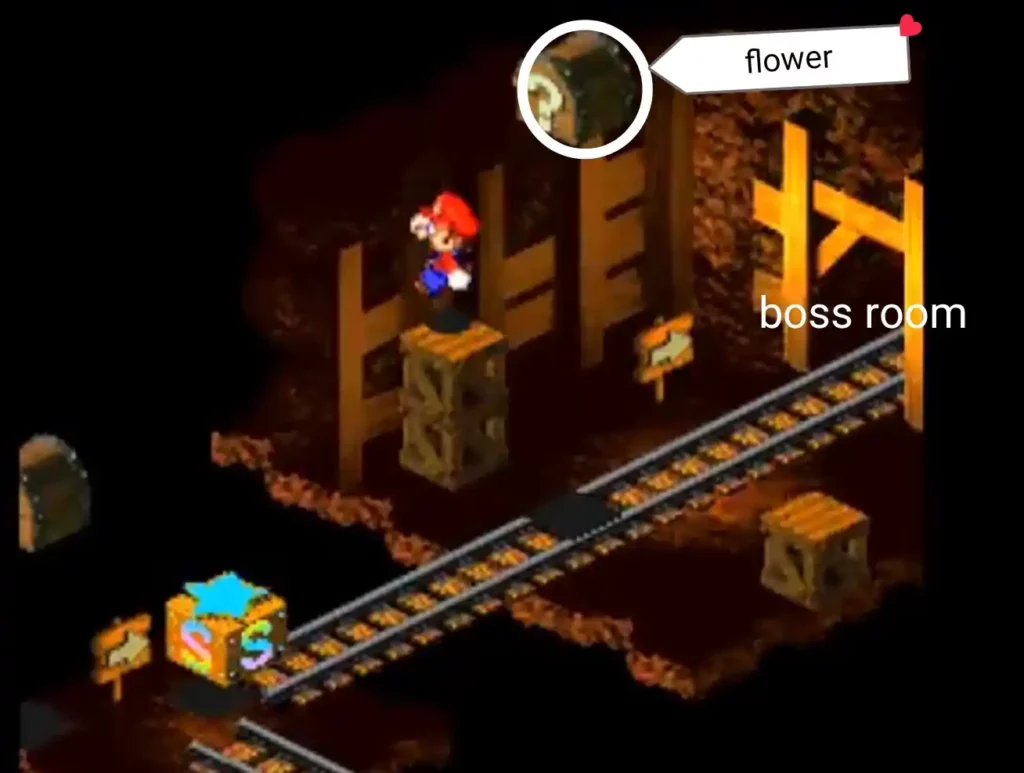
Stand on top of the crates for you to jump and reach the treasure chest containing a flower. Head towards the exit to face the 2nd boss on this level.
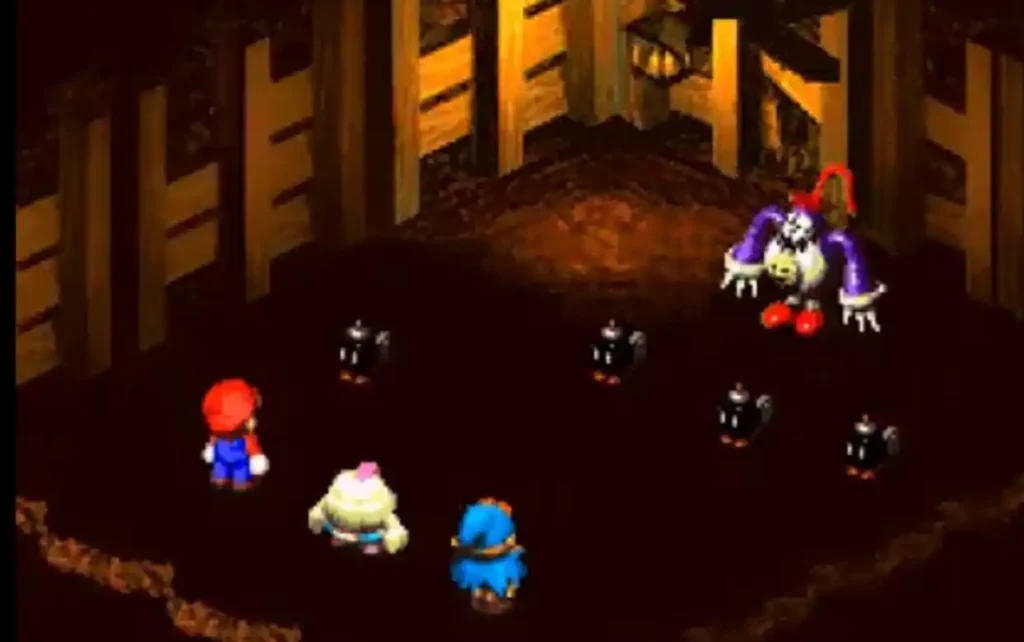
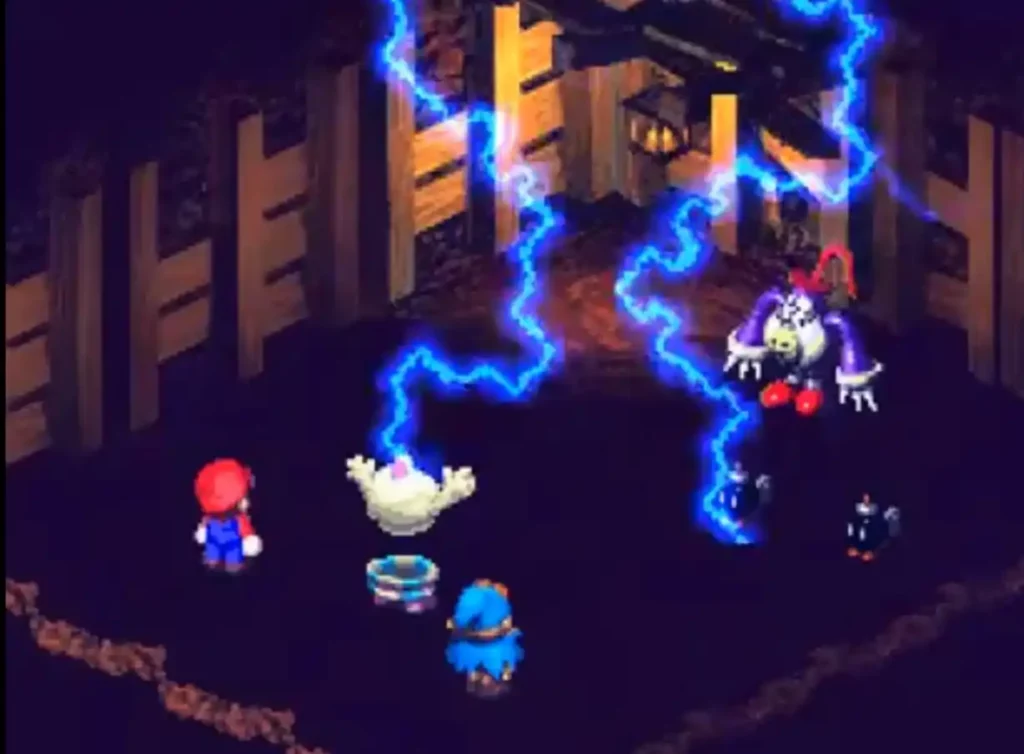
Boss Room

The boss room will be guarded by Bob-Ombs. You won’t be able to approach the boss from the front since he knocks you back when you get near him and throws bombs at you. getting close to the bombs in the area will trigger a mob battle with Bob-Ombs so be careful not to get close to them.
Start the boss battle by going to the side and attacking him from behind. The recommended level when facing Punchinello is level 8.
2nd boss fight Punchinello
| Punchinello | |||
| Hitpoints | 1200 | Item drop | None |
| Attack | 60 | Gold coins | None |
| Defense | 42 | Experience points | None |
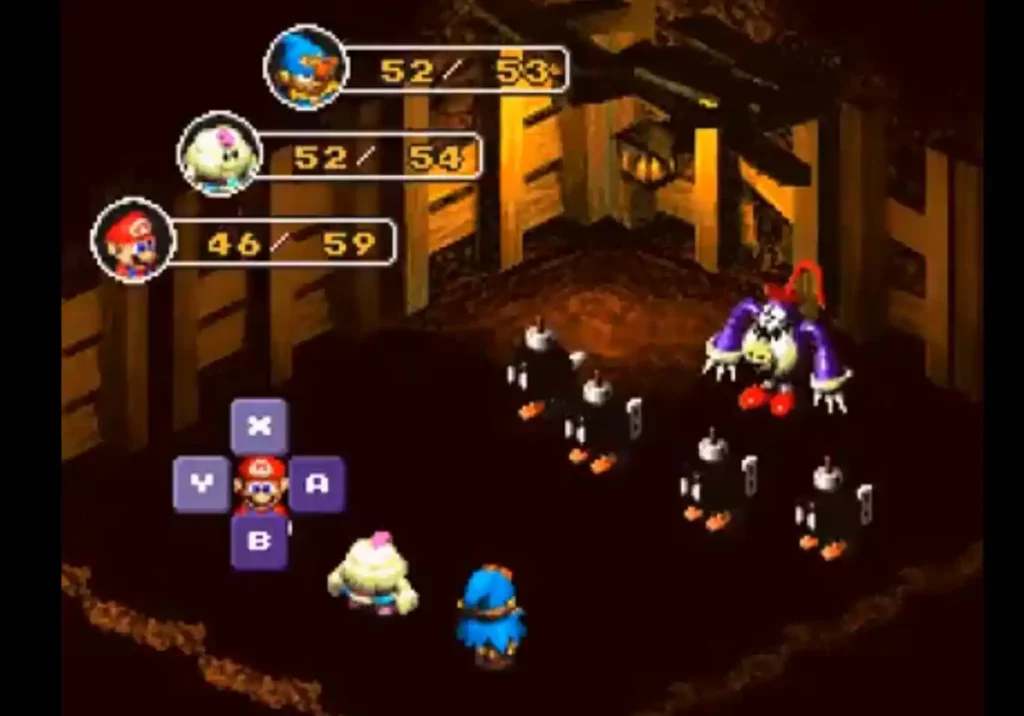
Punchinello spawns different types of bombs in his party. As his health gets lower, He spawns more powerful versions of bombs to attack you. Each bomb has its turn and blows up dealing single damage to your party.
He starts by summoning 4 microbombs that deal low damage. Have Mario and Geno do basic attacks and focus them on Punchinello.
Have Mallow deal with the bombs by using the Thunderbolt skill. You should let each party member heal their health while Mallow spams his AoE skill each turn since Punchinello spawns more when they blow up or get blown up in the battle.
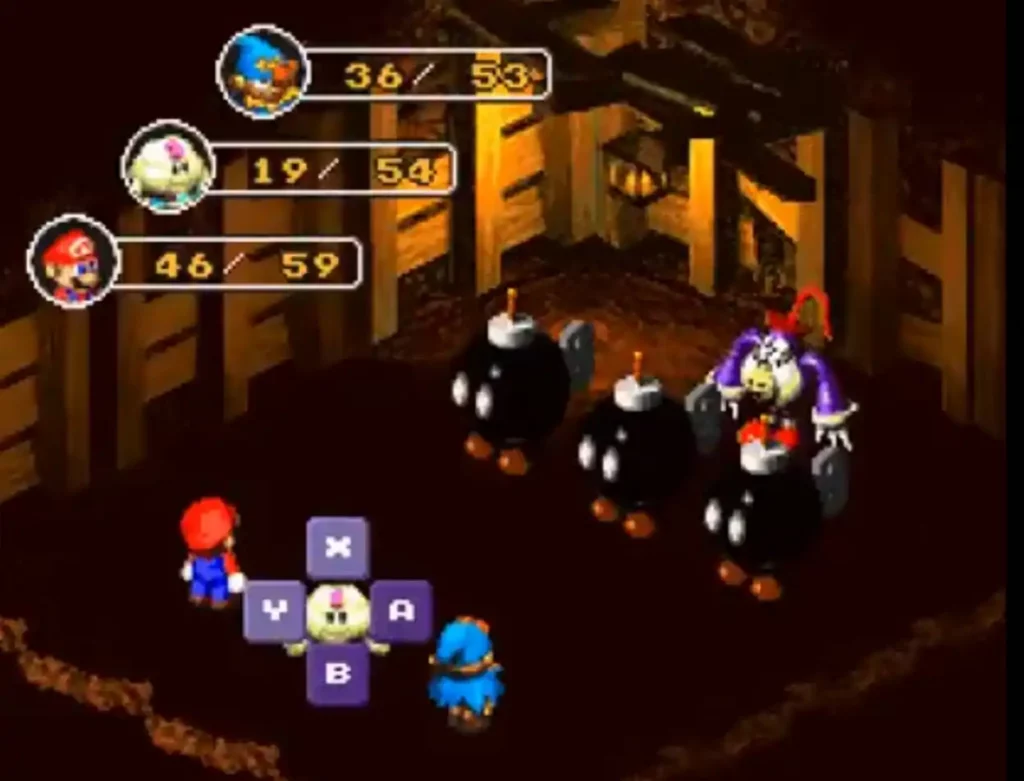
Later into the fight, Punchinello spawns 4 Bob-Ombs which deals much higher damage than the microbombs. Let Mallow handle the spawns while Mario and Geno Focus on damaging the boss.
If their overall damage output per turn is hard to handle, Have Mallow and Geno cast AoE skills while having Mario switch to support by using healing and Fp items on the party.
Once Punchinello has around 1/4 of his health left, He spawns 3 Mezzo bombs into his party. Have Geno and Mallow deal AoE damage while Mario focuses his basic attacks on the boss. Whenever Geno or Mallow’s turn comes up after wiping out a spawn of Mezzo bombs, Have at least one of them deal basic attacks on Punchinello to increase your damage per turn while the other uses healing skills or items or Fp items when needed.
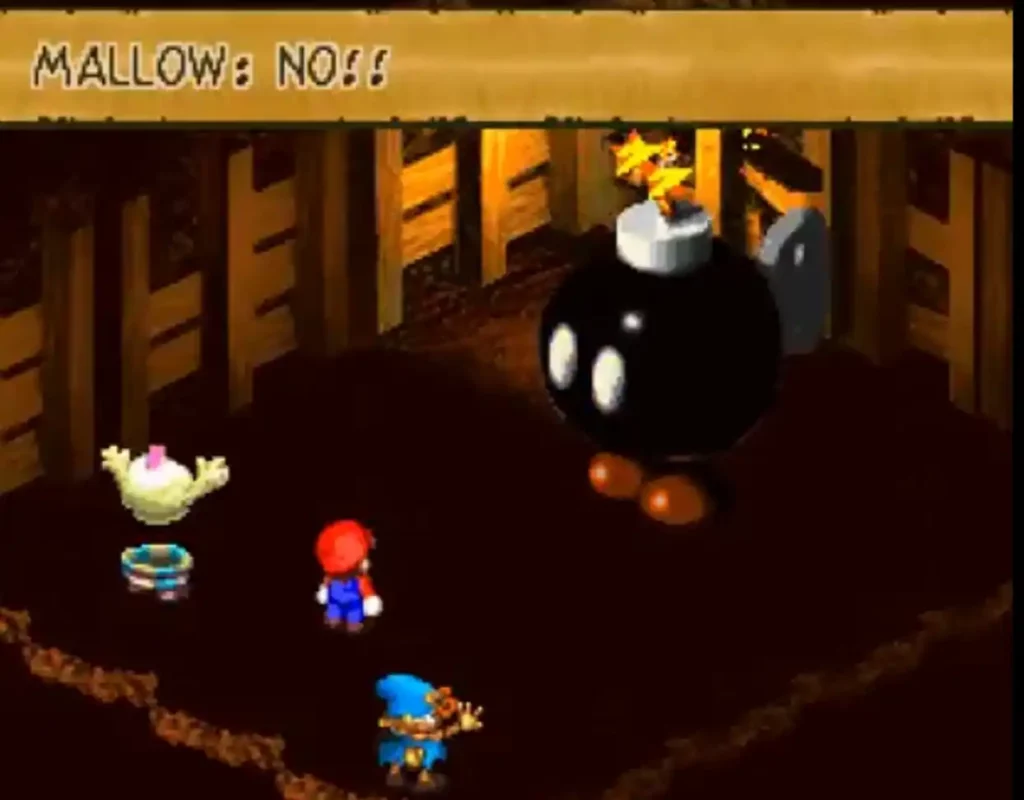
When you defeat Punchinello he spawns a King Bomb which accidentally drops on him. The bomb explodes and kills him but only leaves you covered in soot.
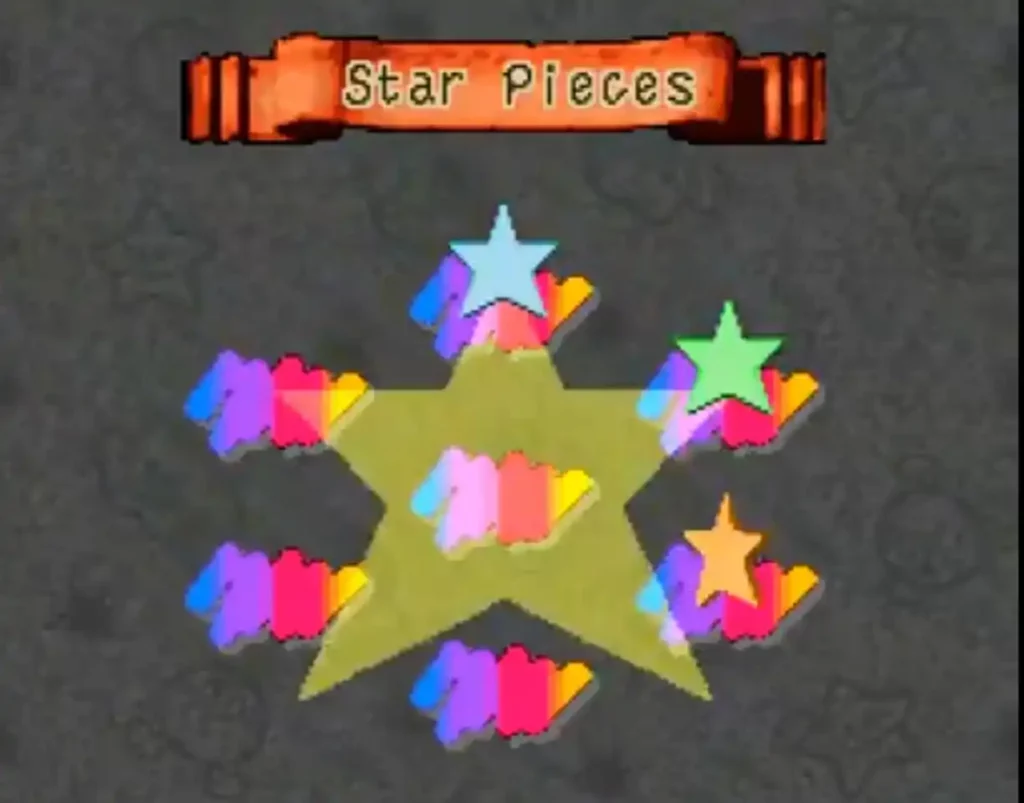
You do not gain any experience or gold coins after the fight but instead, You get the 3rd Star piece as well as save the trapped kid deeper into the mines.
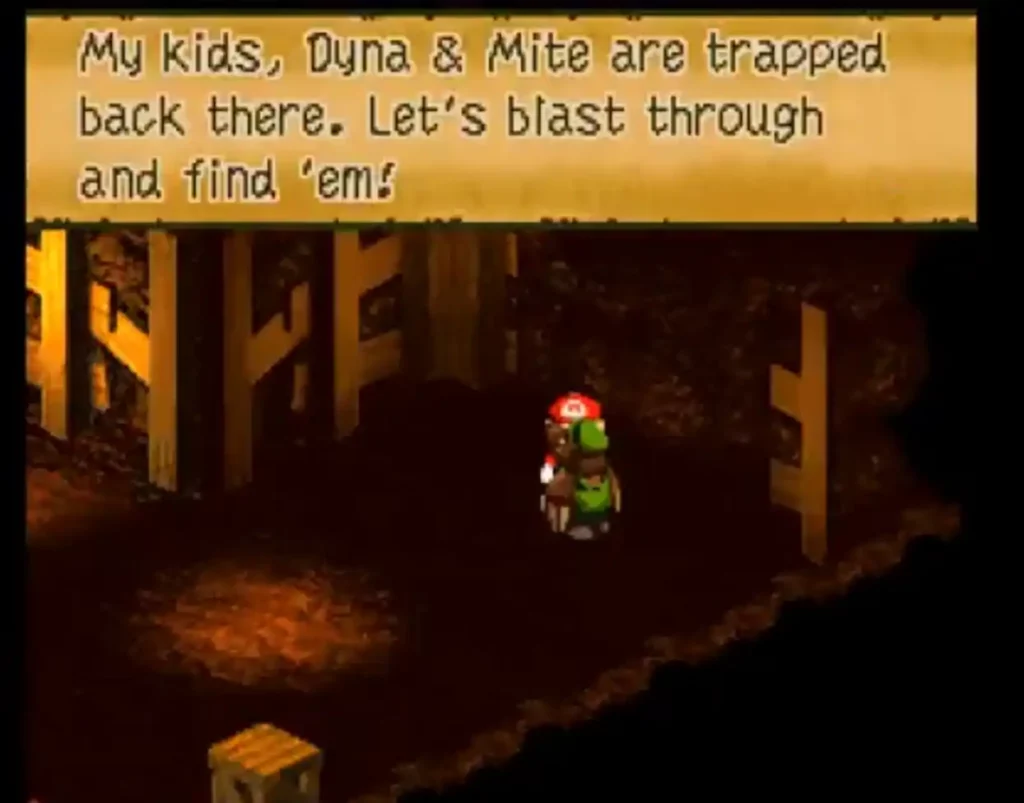
After getting the Star piece, go to the next area where Pa’Mole’s kids are trying to start the mine cart.
Mine cart mini-game 1st section

After reading the instructions, hop on the cart and start the mini-game. Navigate through the rails by tapping either the left or right buttons. Hold buttons A or Y to slow down and the Button lets you jump. The mushrooms you gather give you a speed boost when you tap the B button.
Mine cart mini-game 2nd section
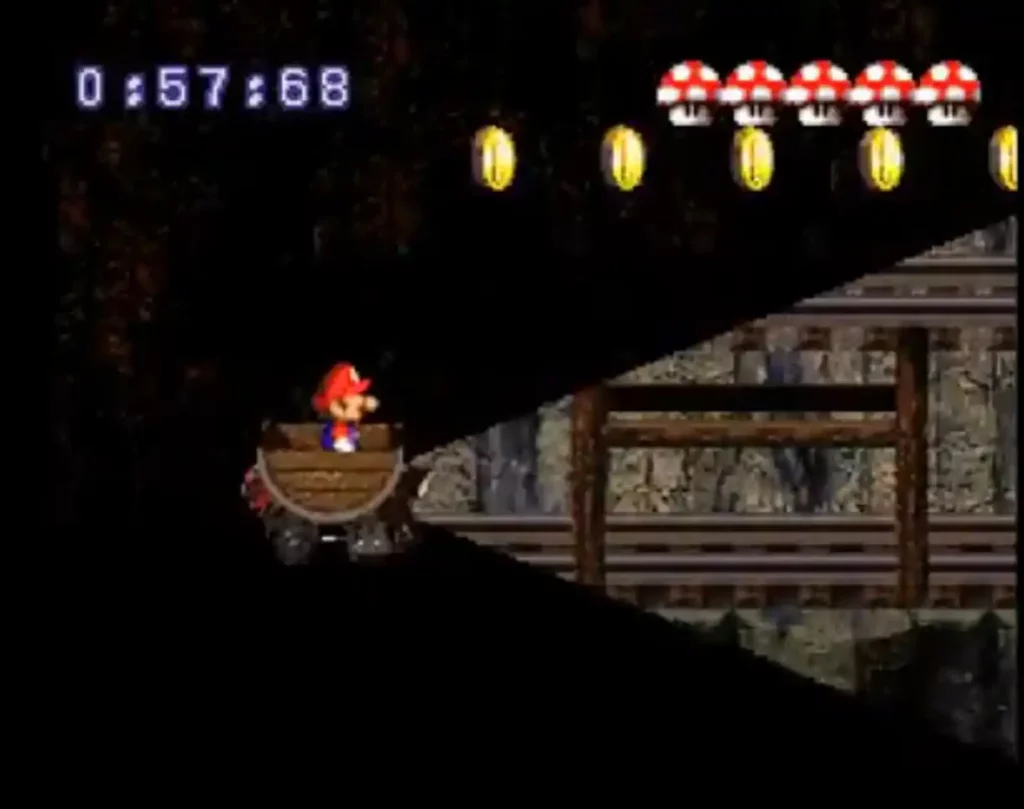
The next part shifts to a side-scrolling view. Jump to change rails and grab gold coins and mushrooms until you switch back to 3rd person view them back again to side scrolling.
Eventually, you get out of the mines but the tracks are broken at the end and you get launched into the air and crash the mine cart straight to Pa’Mole’s house.
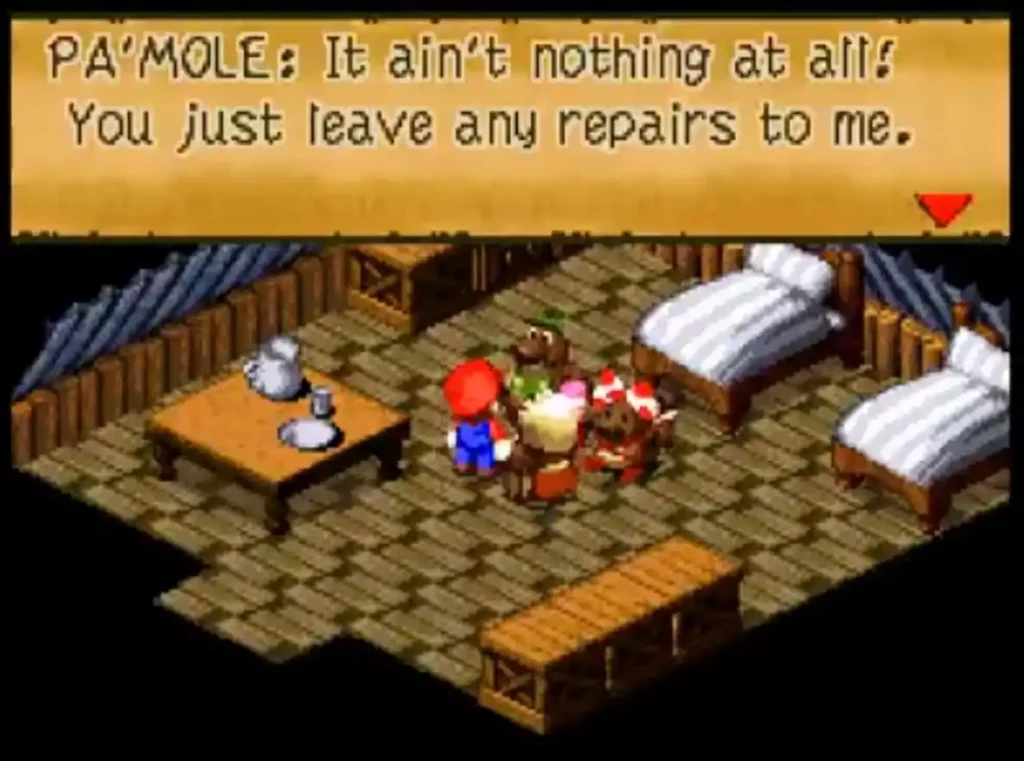
The parents thank you for bringing back their children. Pa’Mole promises to help you out of ever you need his help and a short cutscene plays where Mario wonders how to find out about the Princess’s whereabouts.
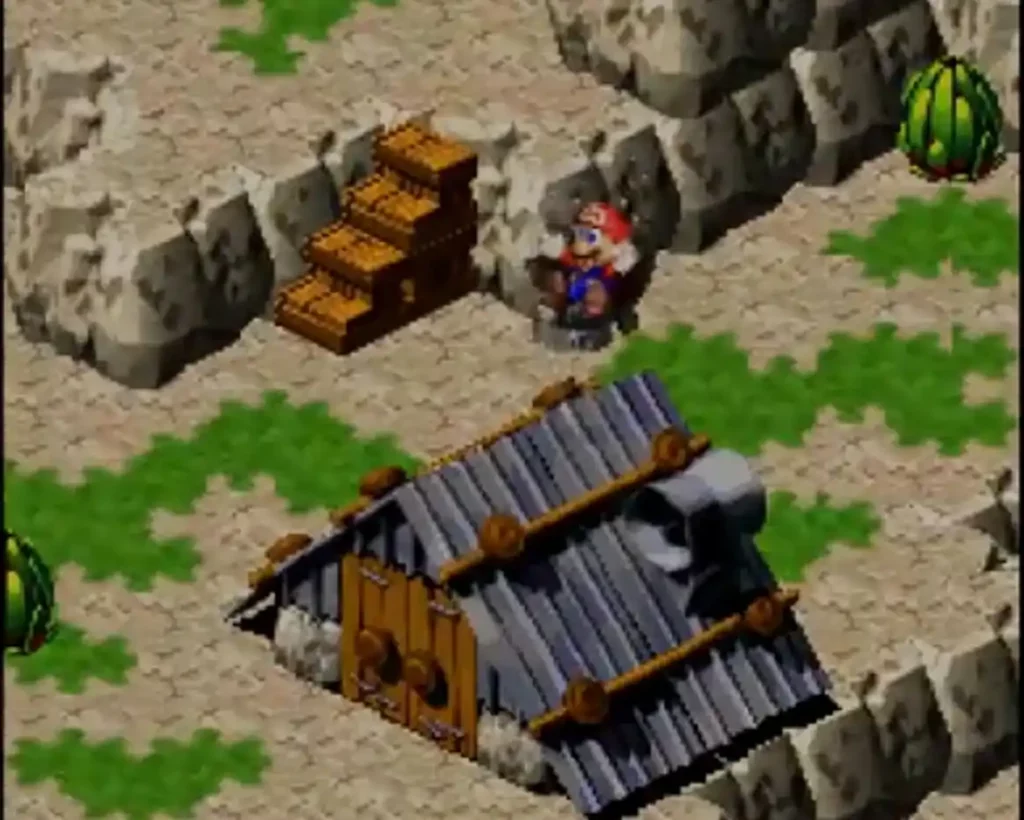
Outside the house
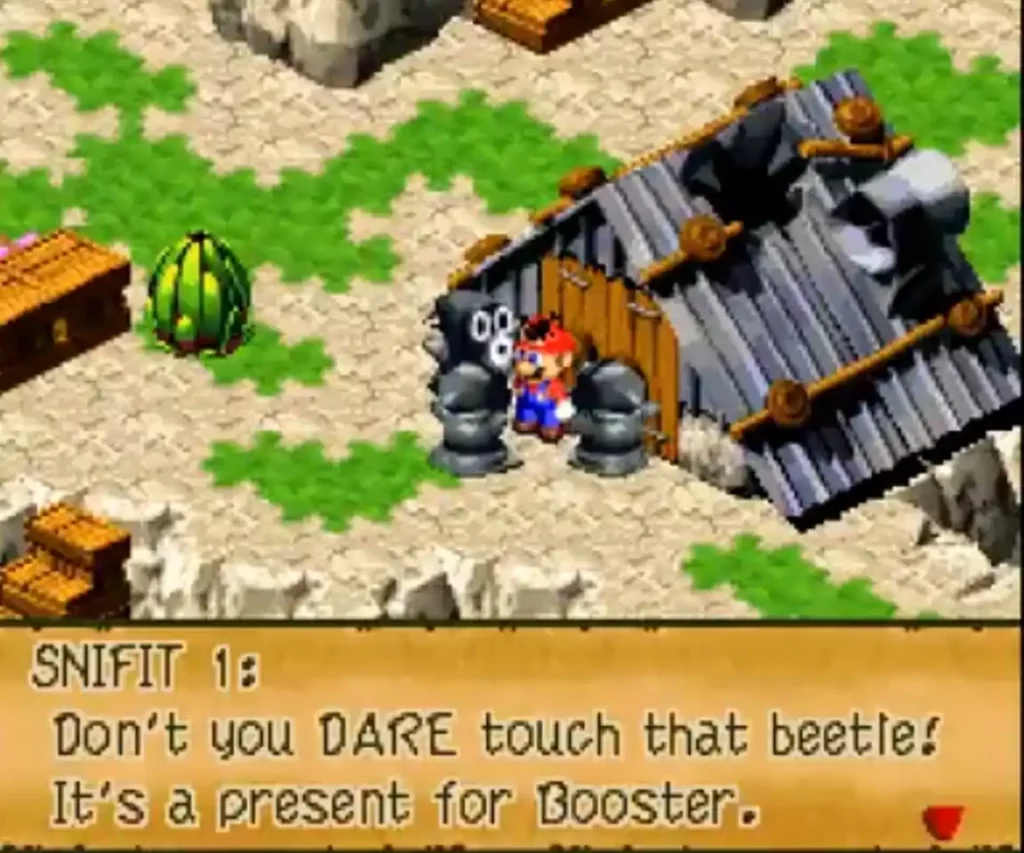
You see 3 Snifits chasing after a beetle flying around. It then lands on your hat and the Snifits corner you. They demand that you hand over the beetle they were catching for them to give it to someone named Booster who loves collecting beetles.

They let it slip that Booster can’t catch beetles at the moment since he is keeping the “princess from the Sky” entertained. Before you can ask them about it, the beetle flies away while the Snifits give chase. With that little bit of info, you head over to Booster Pass to visit Booster and see if the Princess from the sky could be the missing Princess Toadstool.

Moleville has several secret shops in the area. This is also where you can purchase fireworks, and Shiny Stone, and has a secret entrance back to the Midas River course. To read more about how to get the secret items and the secret entrance, click on the link How to get Shiny Stone.
You can also learn about the prizes and game mechanics of the Midas River Run at the River Run mini-game section of the Midas River Walkthrough.